Monday, May 18, 2015

5 Simple Ways Airlines Could Make Flying with Small Children Easier

Pretty impressive, huh? One hour of bliss
and then one jerked in his sleep and knocked
the tray table. It was great while it lasted.
Dear Airlines,

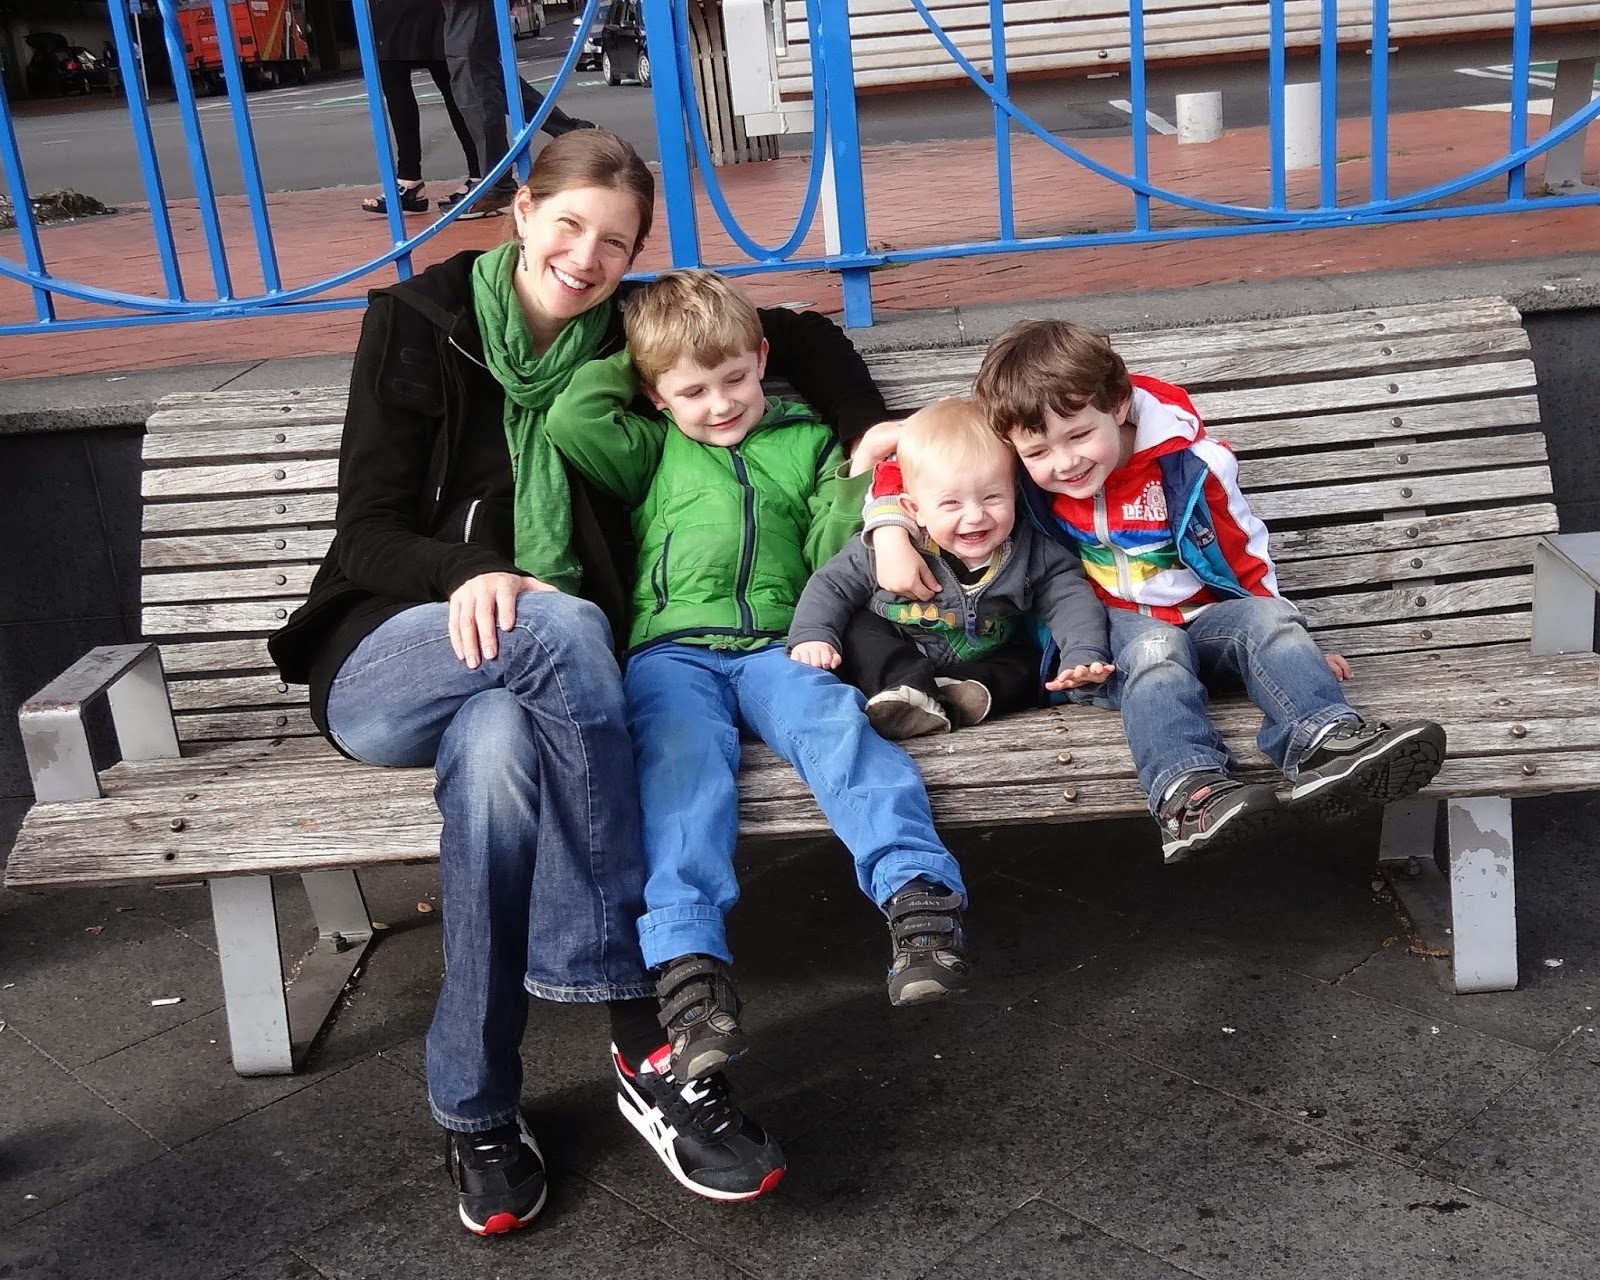
Traveling with a lap baby is difficult. Traveling with a lap baby and two kids under 5 is like child boot camp. Your kids are expected to be quiet, stay in their seats, eat off little tray tables without knocking anything on the floor, sleep during the day, eat in the middle of the night, and go to tiny bathrooms where they are not allowed to touch anything. I just finished a 30 hour flight from New Zealand to Germany, and I personally think I have now earned my ranks as Commander in Chief.
Seriously, no one wants to sit next to a screaming toddler or an uncomfortable baby.  And yet, hardly anything on a plane has been made with children in mind. It is in everyone's best interest to improve conditions on airplanes for families.


Therefore, here is my list of 

5 simple things you, the airlines, could do to make flying with small children on long flights easier.

1. Get rid of the bassinet and find something more practical to hang on the wall. I’ve flown now with three children and I can tell you, flying with a child under 6 months is the easiest.  Babies at this age sleep a lot and are usually very content to sleep on your arm. After six months, most babies are too big for the bassinet anyway and it’s annoying always having to wake them up every time the seat belt sign comes on. Instead of a bassinet, I would love to have a mini high chair or seat with shoulder straps so that I could feed my child somewhere other than my lap.  Or, they could hang up one of those toddler wall toys, so that your little ones would have something to do other than lick their armrest or walk back and forth through the aisles.

Jonas at seven months in the bassinet
2. Find a different way to strap a baby onto your lap. Those little extra seat belts that you fit onto your own seat-belt are very impractical. The baby always ends up having to sit right on the metal part of your own seat-belt and whenever you try to move your child around, say to nurse, you often accidentally unhook the child’s belt. Surely, they could make a better harness that is not so clunky. And honestly? I bet having your child in a baby carrier strapped to your chest has got to be a thousand times safer. It would sure be easier, especially with super squirming babies like I had.

3. Add sack lunches to your meal choices. Adult ones and ones for kids ages 1-6. First of all, on most long flights you don’t get your meals until the middle of the night when your children are already asleep. If you wake them up, they are then supposed to eat off of little tray tables with tons of little cups and saucers which love to get knocked off on the floor, especially when they are not picked up for an hour after the meal. Don’t even add turbulence to this equation. Toddlers and airline meals are not a good combination. Secondly, if you have a lap baby who either refuses to go to sleep or sleeps wildly, it is impossible to eat your own meal. If there were sack lunches with say bologna sandwiches, fruit, and animal crackers, you could give your children their lunch whenever they were hungry. Also, it would be possible to eat your own meal while your lap baby is awake. My first child at seven months slept only an hour and a half of an eleven hour flight. Trust me, mothers would be thrilled to not have to deal with those meal trays.
My child training for the marathon

4. Add drink bottles to your coloring books and crayons that you give to the children as handouts. Children under 6 are not capable of not spilling things. And, while you are at it, make a little fold out ring on the back of the seat in front where they can put their drink, instead of on the tray tables. Although the cups would cost slightly more, I’m sure the money would easily be saved on cleaning costs alone.

5. Ditch the huge TV in the front of the plane. It’s always on the bulkhead wall where all of the families sit with their little kids and it is annoyingly distracting.  It’s not only bright, but unlike a TV at home you can’t shut it off when it is time to put your kids to bed.  It is really hard for little kids not to look at a TV screen when it is on. My oldest child was incapable of tuning out the TV and it made it really difficult to get him to sleep. Everyone has a TV on the back of their chair. You don’t need an extra one as if the plane is a sports bar.

I’ve flown a lot with little children and I can guarantee that if your children are happy, the other passengers are happy as well. No one wants over-tired, hungry children sitting next to them. Implementing these five things would make flying so much more humane, and would make me feel more like a mom instead of a sergeant.

Thanks in advance. Please don't hesitate to contact me for further suggestions.

Sincerely,

One Tired Mom

Germany, New Zealand, and little Max

Raising three little boys takes a lot of time and energy and unfortunately, I haven't had much free time to spend on my blog. Nevertheless, the last year and a half has been pretty exciting.

Our youngest son Max Johann is now a little over a year old and is the happiest kid in town. Jonas is five, still loves tractors and will be starting school this fall. Lukas just turned four with a big soccer party and is still in German Kindergarten.

The biggest event of the last year, however, was a trip with the whole family to New Zealand where we lived for three months so that my husband could work at a research station. Since kids begin school there at five, Jonas was even able to attend the local primary school. I spent most of my day bringing the boys to school and preschool and taking care of Max who was starting to crawl everywhere. On the weekends we took day trips around the area and saw fantastic waterfalls and scenery. It was a fantastic experience and we all saw and learned a lot.

As you can imagine, we have all been pretty busy. Hopefully, now that we are back in Germany and the boys are getting older I will be able to have more time to share some crafts, recipes, and thoughts with all of my loyal readers. I look forward to seeing you soon!

Tuesday, November 19, 2013

Painted Tree Silhouettes

I love painting, but having small children hasn’t made it easy to paint very much, other than the occasional finger painting extravaganza.  Therefore, I was overly excited about painting the boys’ room. I have always wanted to do something creative on the walls and I finally had a good idea and was ready to begin.
. 
I’ve always found trees fascinating and thought that you could stare at them for hours.  I decided to make some tree silhouettes on two walls in the room with the trees white and the walls blue. I didn’t paint the whole room blue, because I didn’t want it to feel too small and I like the contrast of the white walls in between. 

After planning everything out, I waited until my mother-in-law came up for a week, so that I would be able to work in their room as uninterrupted as possible.  Unfortunately, Jonas got the flu that week.  Luckily, he was happy to lay in his bed in his room, watch Little Red Tractor on the Ipad and watch me paint.

I went online to see what info I could find about how to do silhouettes neatly, but could only find how-to’s on how to do patterns like chevrons.  This still proved very helpful and taught me what I needed to know in order to make crisp lines without any leaks.

I was very pleased with how the room turned out and the boys like it as well.  Jonas loves cats, and his stuffed Baby Kitty often tries to climb up the tree or catch a bird. At night when only a nightlight is on, it is easy to imagine being outside.  Even though blue is usually a cold color, the trees and dark color seem to add a bit of warmth to the room that was much needed. 

Here’s the How to:

1.  Decide what wall or walls you are going to paint, and make sure they are clean.  In Germany, almost all walls have Raufasertapete, which is a kind of textured wallpaper with a paper-like consistency that is usually then painted over with white paint.  I used a cloth to wipe down the walls and make sure they were dust and spider web free.

2.  Get out your masking tape!  There is a difference when it comes to masking tape.  If you can afford it, buy the good painter’s tape that doesn’t over-stick.  I began with this tape, but ran out and finished my project with plain old masking tape.  Both worked well, but the masking tape pulled off some of the wallpaper, which I had to touch up later. 

I drew out my drawing in a sketchbook first and then freehanded it with the masking tape on the wall.  If you want to make a rounded edge, you will need to just tear many little pieces of tape and lay them over each other like a fan. If you would like to make shapes, like my birds (and don’t want to free-hand them), you can put the tape in strips on wax paper and then cut out patterns with a scissors or knife.    

The most important thing is that the outside line of your silhouette looks sharp.  Use your finger to press the tape down along this entire edge. Don’t forget to do this also on the sides of your wall.

3.  Time to paint.  In order to get clean lines, it is very important that you follow this step.  You will need to first paint along the outer edge of your masking tape silhouette using your original wall color, which is usually white along with the sides of your wall.  This seals the tape on the side and prevents those little color drips.

Now you can take your background color (I used blue), and begin painting.  I used a professional roller made for details.  It is somewhat like a sponge and doesn’t hold as much paint as a traditional roller, but it also doesn’t splatter.  You will just need to press a bit harder and roll over some areas a few more times.  You may also want to buy a little roller for getting into tough spots.  A roller will leave a much nicer finish than a paint brush.  If you have areas that are too detailed, use more masking tape or paper to mark off the wall so that you can roll over it. It will save you time and look better.

4.  Finally, pull off the tape carefully while it is still wet!  This sounds a lot easier than it is, as masking tape is really sticky and now wet with paint.  I wear those plastic gloves like doctors wear when I paint a big project, so my hands don’t get covered. Then once your wall is dry, you can go in and do touch ups with a paintbrush.

 I think you will be amazed how easy it is to make beautiful silhouettes on your walls that look like they were professionally done.  Here is a picture of both finished walls.  I have now put Jonas's bed in front of the wall on the left and a white dresser on the left side of the wall on the right. 

As always, good luck and have fun!


Monday, November 18, 2013

Nesting, Planning, and Blogging

Lukas and Jonas 
Now that my second son Lukas just started German  Kindergarten (he's now 2 1/2 years old), I have three months without any children at home in the morning to get things done before baby number three arrives sometime late January.  I have been nesting like crazy this time around, going through every room and cupboard in the house, organizing and planning.

Firstly, I know exactly how uncomfortable the last two months can be and I wanted to make sure that I got all of the annoying jobs out of the way first, like sorting through boxes in the attic for all of the baby stuff, washing clothes that haven't been worn in a few years, building IKEA furniture, etc... Secondly, since I was on bed rest the first three months of this pregnancy, I wanted to plan for the slight chance that I might get put on bed rest again at the end of it. I don't want to have to delegate from my bed to my husband, or in-laws for that matter, exactly where they can find every baby item in the attic, especially when I am probably the only one who knows where all of the baby stuff is, because I packed it in the first place.

Now that I have all of the baby stuff ready to go, I can concentrate on other neglected areas.  I have so many blog entries that need to be posted and a zillion photographs that need to be sorted before I make Christmas calendars for Grandma and Grandpa and photo books of the kids. I apologize for not having posted anything the last few months and thank you in advance for your continued support!

Kelley

Thursday, May 23, 2013

Simple Sweet Potato Mac and Cheese


After we came back from the US last Christmas, all my son Jonas wanted to eat was Kraft Mac and Cheese.  Unfortunately, the few packets we had brought along didn’t last forever.  And, even though I was thrilled that Jonas finally ate pasta, he refused to eat any other pasta that you put in front of him.

I decided I was going to try to duplicate Kraft.  I soon got the taste down, and found mini macaroni, but I couldn’t get that infamous yellow color.  

Jonas is a very picky eater.  For the past two years it has been almost impossible to get him to eat any vegetables whatsoever, not even carrots (Thankfully, he eats fruit). Adding sweet potatoes to the mac and cheese killed two birds with one stone.  I finally got that bright yellow color and I got to sneak in some valuable vitamins and minerals into Jonas’s diet.

This simple sweet potato recipe has become Jonas’s favorite.  Over time, I have increased the sweet potato without any negative repurcussions.  My first successful recipe contained Velveeta.  However, Jonas often complained of a stomachache after eating it and when I added shredded real cheese instead, his tummy aches disappeared.

One day I found a leftover packet of Kraft  Mac and Cheese.  I made if for Jonas thinking he would be thrilled to have the original again.  He didn’t want it and asked for mine.  I couldn’t ask for a better complement.

Here's the Recipe:

Simple Sweet Potato Mac and Cheese

2 C Milk
1 t salt
1 1/2 T sugar
2 T butter
2 T flour
½ to 1 C Sweet Potato puree
1 C shredded cheese
1 C macaroni noodles

1.  In a frying pan, melt the   Add flour and mix until the flour is thoroughly dissolved in the butter. 
 butter.  Add milk and while stirring constantly, bring just to a boil and remove from heat.

2.  Add sweet potato puree, cheese, sugar, and salt.  Mix until smooth.

3.  Add cooked macaroni noodles to the frying pan.  Use a spatula to mix noodles with sauce until completely covered. Give Mac and Cheese to kids and wait for them to say, “Yummy!”


Saturday, May 11, 2013

Grow With Me - Movable Door Height Marker

When did you get so big? I remember hearing that line when I was a kid all the time.  I never realized just how true it is.  Kids really do grow amazingly fast.

When my boys were born I was amazed just how tall they were.  Was it really possible for them to grow so much in only nine months inside of me? Then at their first birthday, I was amazed again at just how much taller they had become.  Now that they are two and three they have already become little boys and no longer look like babies anymore. Where did the time fly?

I started this movable door height marker over a year ago.  By changing the fabric every year, you can see exactly how much your child has grown each year.  You can also see which of your children will probably be taller.  Already at three, I can see that Jonas will be taller than his brother, even if it is only a little bit.

Hopefully someday, when they are over six feet and have stopped growing, have gotten married and have their own children, they can hang their door height marker up again and their kids can compare themselves to daddy.  

Lukas just had his two year check up where he had to stand up against the wall and get measured.  At home, he stood against his door marker and said, “so big!” Maybe someday, his son will do the same.

For the how to, see  http://kelley-donner.blogspot.de/2011/04/movable-door-height-marker.html from April of last year.

Wednesday, April 10, 2013

Baby Kitty's Underwear

Underwear is a big thing in our house.  My three year old Jonas not only loves to pick out which undies he wants to wear in the morning, but he also decides which ones his stuffed animals Baby Kitty, Mama Kitty, and Airplane get as well. 

I love Baby Kitty, because Jonas speaks through her.  When Baby Kitty doesn’t feel well, I know Jonas doesn’t either and when Baby Kitty is tired, I know Jonas is, too.  Baby Kitty even tells me all about Kindergarten.

So when I saw that Jonas’s underwear were way too big for Baby Kitty, I knew what to do. One morning while he was at Kindergarten, I sewed up a pair of undies for his beloved stuffed animals.

Jonas was so happy that his Kitty now had underwear that he showed everyone in his Kindergarten.  I think I am going to have to start making more clothes for Baby Kitty…

How to:
Unfortunately, I cannot show how I made these underwear.  I had such a limited amount of time and I had never made underwear before, so I did everything in the wrong order. Seriously, I've never found a project to be so difficult, which looked so simple.  Luckily, I’m pretty good at covering things up, so they still turned out pretty cute. 

If you want to make underwear for your kids stuffed animals, you could buy a pattern.  But, what would be the fun in that?